
Key Takeaways
- Video tours are one of the most effective tools for attracting prospective tenants and boosting engagement with rental listings.
- With preparation and simple equipment like a smartphone, you can create professional-quality video tours that highlight your property.
- Specialized PM Charlotte can help you maximize your marketing efforts, ensuring your property reaches the right audience and secures reliable tenants.
In today’s market, tenants expect to explore rental options online before scheduling an in-person visit. At Specialized PM Charlotte, we know that a well-crafted video tour can set your property apart, giving potential renters a clear sense of the space while saving time for both landlords and applicants.
Video content has grown rapidly in popularity across industries, and real estate is no exception. Listings with video consistently generate more engagement, making video tours a valuable tool for attracting high-quality tenants. Best of all, they are cost-effective and easy to share across multiple platforms.
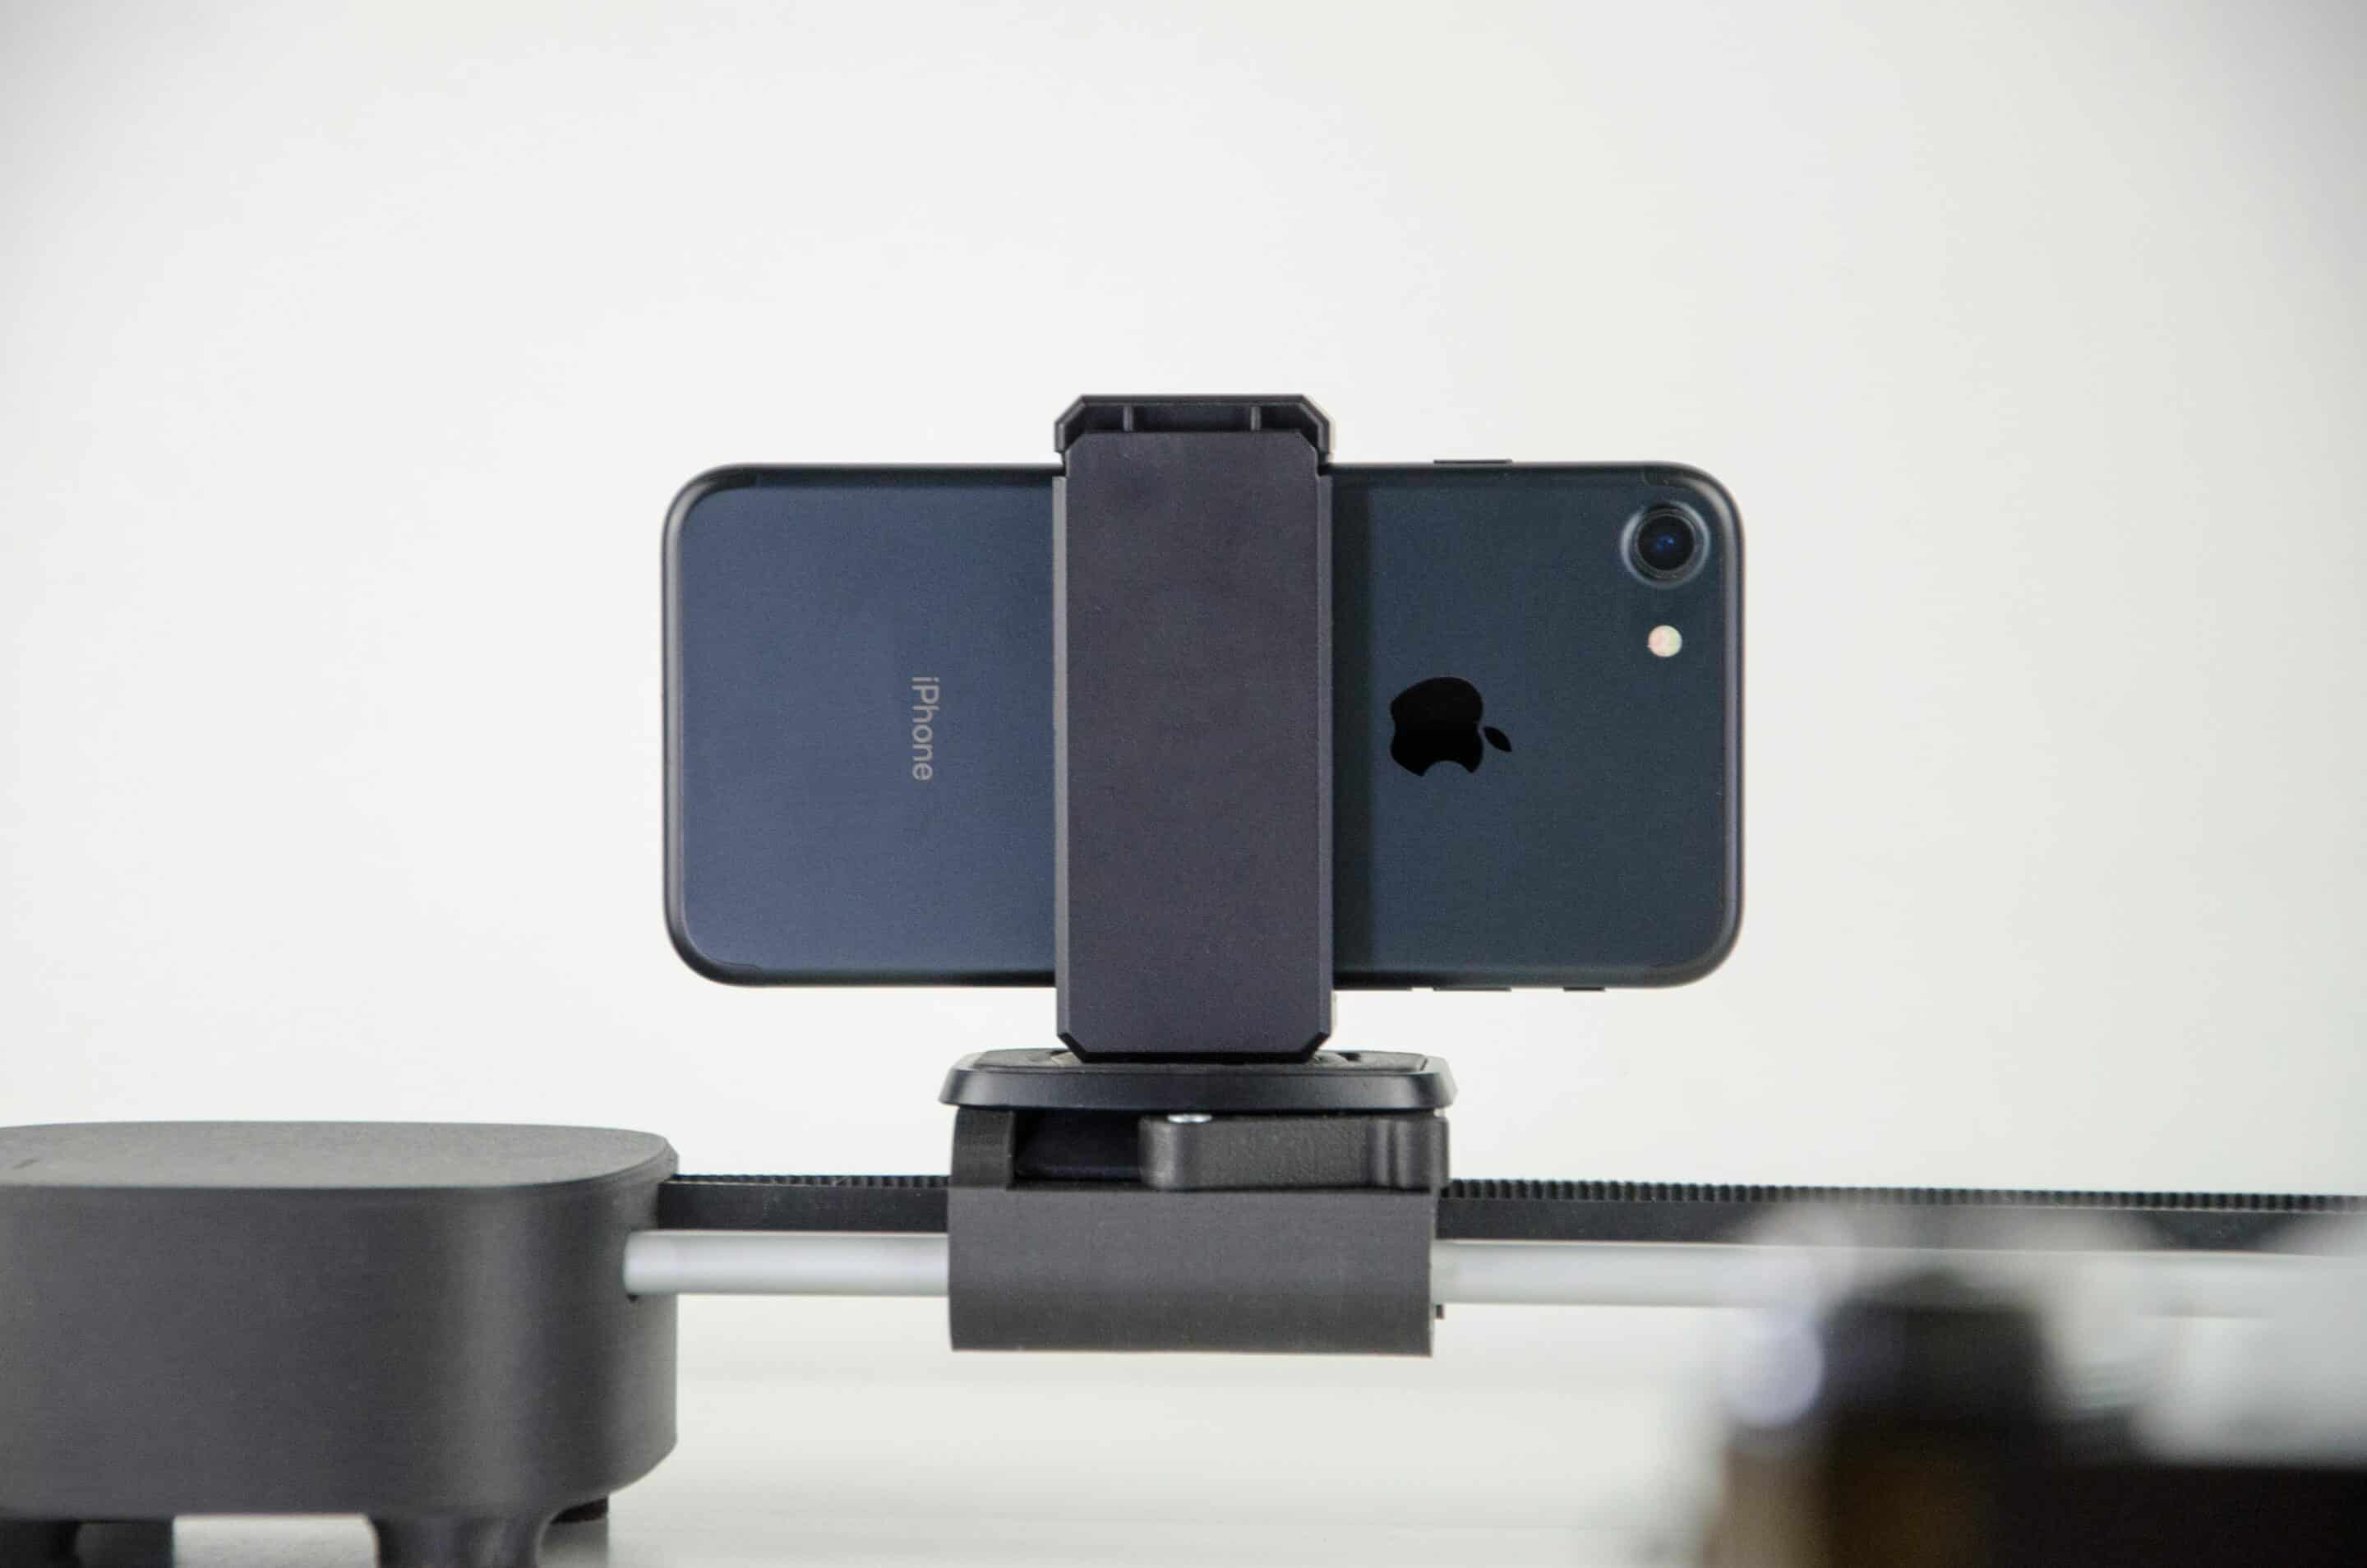
If you’re hesitant about producing a video because of cost, the good news is that you don’t need professional equipment or a film crew. With planning and the right techniques, you can create polished and persuasive property tours using only your smartphone.
Below are practical strategies to help you plan, record, and edit video tours that captivate viewers and boost rental interest.
Record in Landscape Mode
Always film in landscape (horizontal) format rather than portrait. A wider frame gives viewers a better sense of layout and detail, making the viewing experience more natural and immersive.
Since movies and television are filmed this way, renters are already accustomed to this perspective, and it helps them visualize the property more easily.
Take Advantage of Natural Light
Lighting plays a critical role in how a property appears on video. Natural light generally provides the most flattering and realistic look.
Open curtains, test lighting before recording, and aim for times of day with softer light, such as early morning or late afternoon. Avoid harsh artificial lighting that can cast shadows or wash out details.
Manage Your Audio Carefully
Sound can either enhance or distract from your video. If you choose to narrate, make sure you are in a quiet setting with minimal background noise.
If narration isn’t part of your plan, mute the audio during recording and add music later during editing. Choose neutral, royalty-free tracks that create an inviting mood without overpowering the visuals.
Plan Your Shots Before Filming
Preparation is key to creating a smooth video. Decide which rooms and features to showcase and in what order. Having a shot list helps reduce shaky movements or overuse of zoom.
If you want to emphasize details such as new countertops or a walk-in closet, physically move closer with the camera rather than zooming. This approach creates sharper, clearer footage.
Watch Your Grip and Positioning
Accidentally blocking the lens with a finger is a common mistake. Double-check your hand placement before you begin recording.
Practice holding your phone or camera securely to prevent footage that needs to be redone. A steady grip ensures a more professional final product.
Keep the Camera Steady
Shaky video distracts from the property’s features. Hold the device close to your body for stability. If possible, use an affordable tripod, which adds instant professionalism to your video without requiring advanced skills.
Edit for a Cohesive Story
Filming is only the first step. Editing ties everything together and creates a polished final product. Free and user-friendly apps like iMovie, Splice, or VidTrim are excellent starting points.
Trim unnecessary footage, arrange clips in a logical order, and add captions or transitions as needed. The goal is a natural flow that highlights the property’s strongest features while keeping viewers engaged.
Keep Videos Short and Engaging
Attention spans are short, particularly online. Aim for a video that is under three minutes. A concise video ensures viewers see the highlights without losing interest, while shorter content also encourages repeat viewing.
Think of your tour as an introduction to the property, sparking curiosity rather than covering every detail.
Stage the Property Before Filming
A video tour is essentially a first impression, so the property must look its best. Declutter, clean surfaces, and remove personal items to create a neutral and inviting atmosphere. If you regularly update the property, make sure to film a new video as part of your yearly checklist.
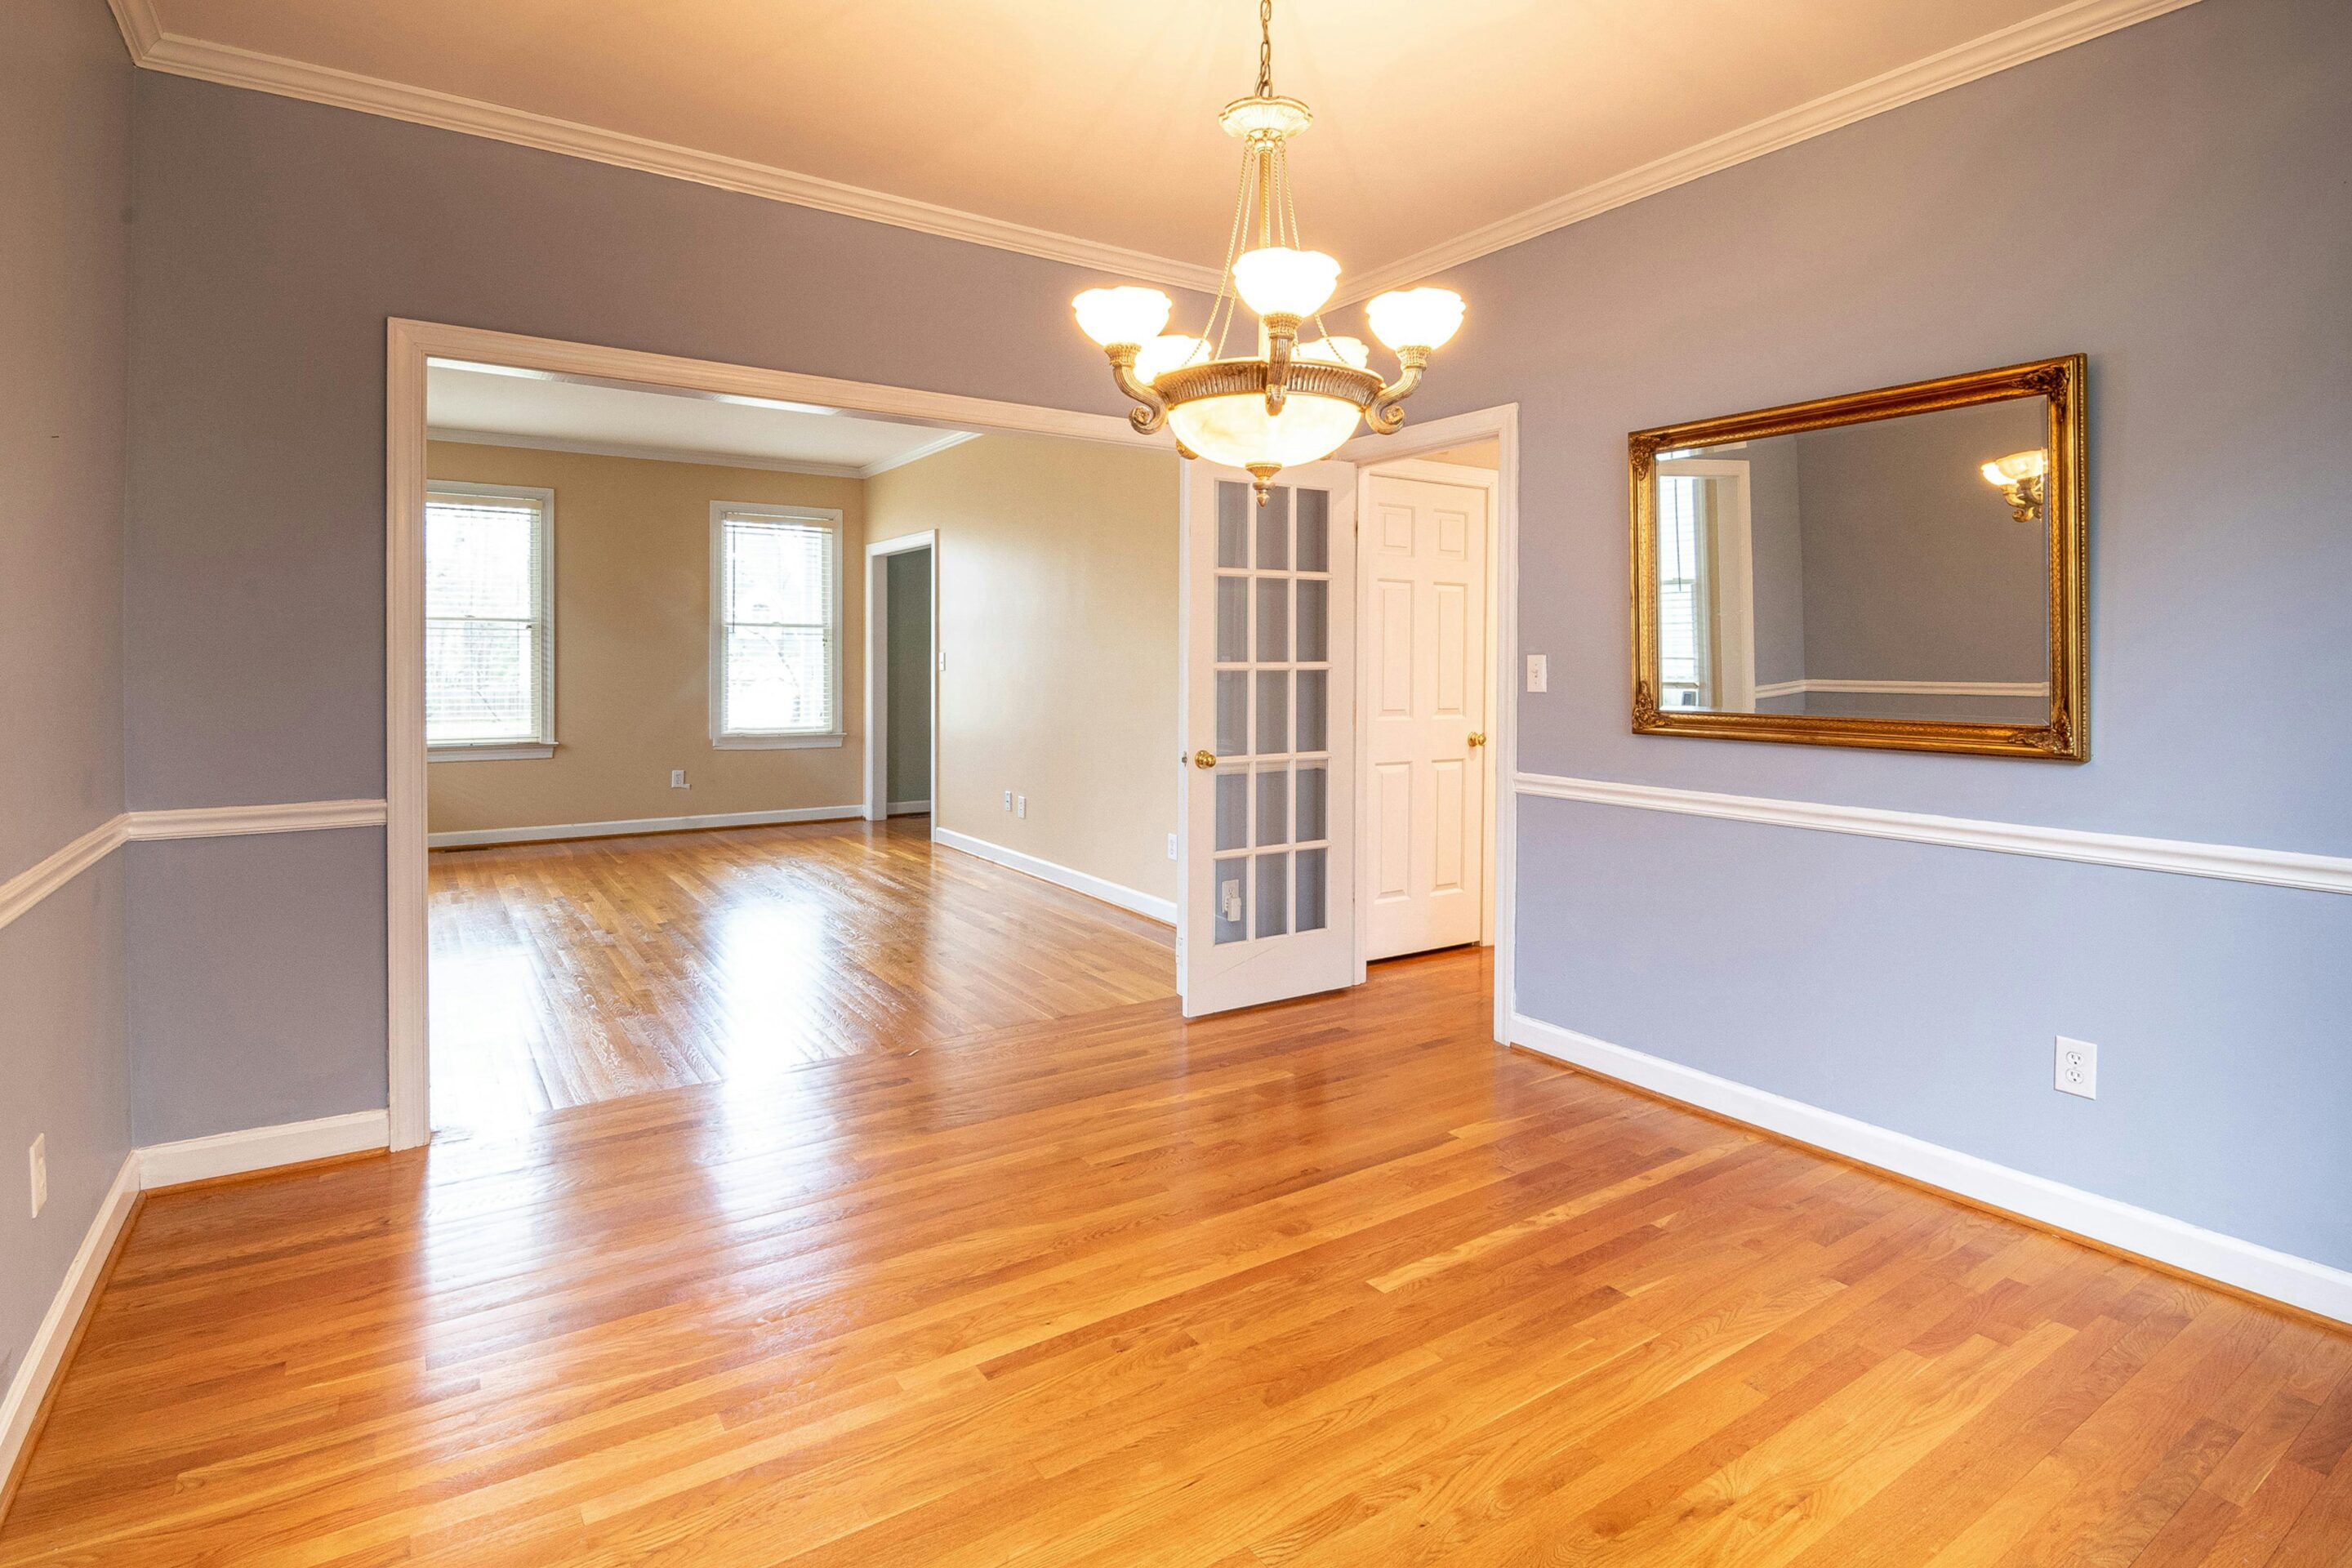
While staging doesn’t require costly furniture, a tidy, well-presented space makes the home appear move-in ready and more appealing to prospective tenants.
Showcase the Best Features First
Viewers may not watch the entire video, so start strong by highlighting the property’s most attractive features. Whether it’s a modern kitchen, spacious living area, wonderful curb appeal, or scenic view, showing these details early ensures that even casual viewers leave with a positive impression.
Leading with the best features also increases the likelihood of tenants reaching out for more information.
Bottom Line
Video tours are a powerful tool in today’s rental market, giving prospective tenants a realistic feel for a property without stepping inside. With careful planning, steady filming, and simple editing, you can create short, engaging videos that highlight your rental’s best features and attract more interest.
At Specialized PM Charlotte, we help property owners maximize the value of tools like video tours while ensuring properties are marketed effectively to the right audience. Contact us today to learn how our professional property management services can help you attract quality tenants and achieve long-term success.


